
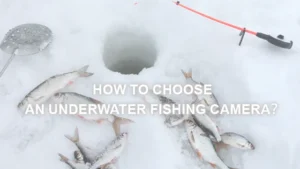

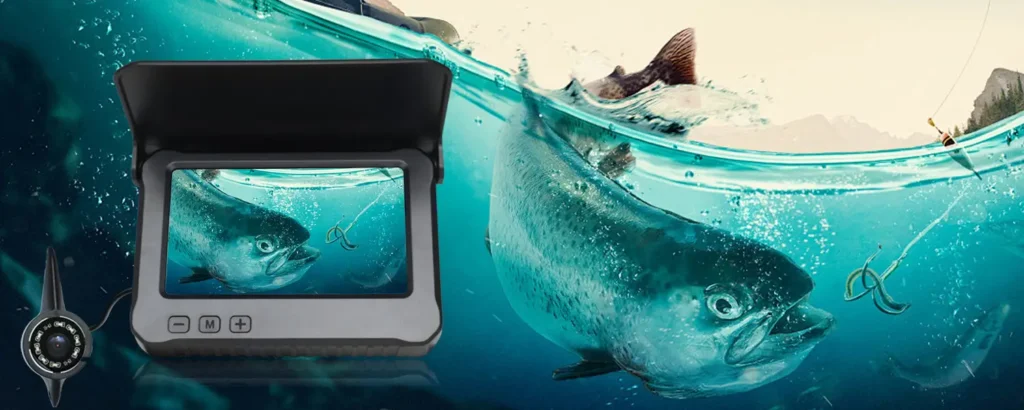
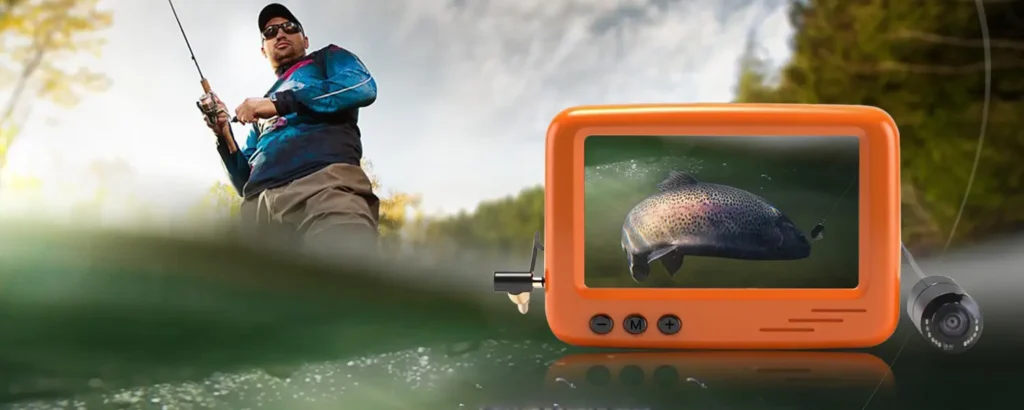
So, you want to know how fish react to your lure or learn the best depth and technique? Maybe you want to record cool videos for YouTube or just to observe your sessions later. The technology now allows us to do all these things with modern fishing cameras that have displays to see the live footage. But, unlike live-view underwater fishing cameras, DVRs are much more interesting and helpful. They can record and save videos, with the added ability to watch live footage. But what is a DVR in an underwater fishing camera? How does it work, and what purpose does it serve? We will explore everything in this article.
DVR stands for Digital Video Recorder. The technology itself isn’t limited to fishing only. DVRs are used with several other things, such as CCTV and dash cams. They were created to record videos automatically, allowing users to pause, rewind, and replay footage, but we also have manual options to do things. For underwater fishing, DVR can help record what cameras sees underwater, save fish activity and their condition. They allow anglers to review footage later for learning or sharing.
The underwater cameras without a DVR only show you the live video. You cannot save or replay the footage. This way, DVRs are great for recording video footage in digital form for later viewing and analysis.
What Does DVR Mean?
A DVR (Digital Video Recorder) is an electronic device that generally uses SD cards, SSDs, or hard drives to store videos of any kind. The core purpose is to replay those videos for sharing or observational purposes.
It is an electronic system or device that receives the video from a camera or video source. In our case, it receives the signal from the fishing camera. It then converts and compresses the video into digital files. The video is then stored in a permanent storage medium, such as an SD card, for future playback and management.
In modern underwater fishing cameras, the DVR is built into the camera system rather than being a separate unit. Earlier, these fishing cameras were used by professionals only, but now they have become common and popular as well. In simple words, it is a digital display attached to your camera that serves the purpose of both live viewing and recording features.
DVR vs DVR-Less Fishing Camera
A DVR can be considered a good feature for your overall fishing setup, but it is not in any way mandatory. Even if this DVR function is not available, it won’t affect anything. If you only want to observe in real time, then a simple live-view fishing camera is more than enough.
| Feature | DVR Fishing Camera | DVR-Less Fishing Camera |
| Primary Capability | Records video to internal storage (e.g., micro-SD) for later playback | Streams video live to a display/screen without recording |
| Recording and Playback | Built-in Recording for review and analysis | No built-in recording function |
| Storage Requirement | Requires storage media (micro-SD, SD card) | No storage needed |
| Usage | Useful for reviewing fish behavior and sharing footage | Rely on memory or notes |
| Price | Typically expensive | Comparatively cheaper |
| Power Load | Slightly higher power needs | Lower power needs |
So, DVR is basically a luxury feature for professional and enthusiast anglers. However, anyone who can afford it will get benefits. The extra features for recording, pausing, and replaying the footage are always great to have. So, if you want to make the best use of your time and resources, a DVR fishing camera is the best for you. However, a simple camera without the recording features would do the job.
How DVR Work in an Underwater Fishing Camera?
Step 1: Signal Capture From the Camera Sensor
The fundamental role of the DVR is to capture the video signal from the camera sensor. The underwater camera sensor captures the light below the water surface. All the activity gets caught, which is within this camera’s range. This sensor converts the visual information to an electronic video signal that passes through the camera cable to the DVR unit.
Step 2: Video Encoding and Compression
Once the DVR receives the video signal, it encodes the raw footage into a digital video format. Compression is generally applied to reduce the video file size while maintaining the viewable image quality. Underwater video footage can be lengthy. So, compression becomes important to allow more footage to be stored in the available memory.
Step 3: Storing the video in storage devices
After encoding and compression (if applicable), the video is ready to be stored. Common storage options in underwater fishing cameras include SD or microSD cards, allowing for easy expansion and file transfer capabilities. Some DVRs can have internal memory for basic recording needs. The choice will affect how much footage can be recorded and how easily files can be accessed later.
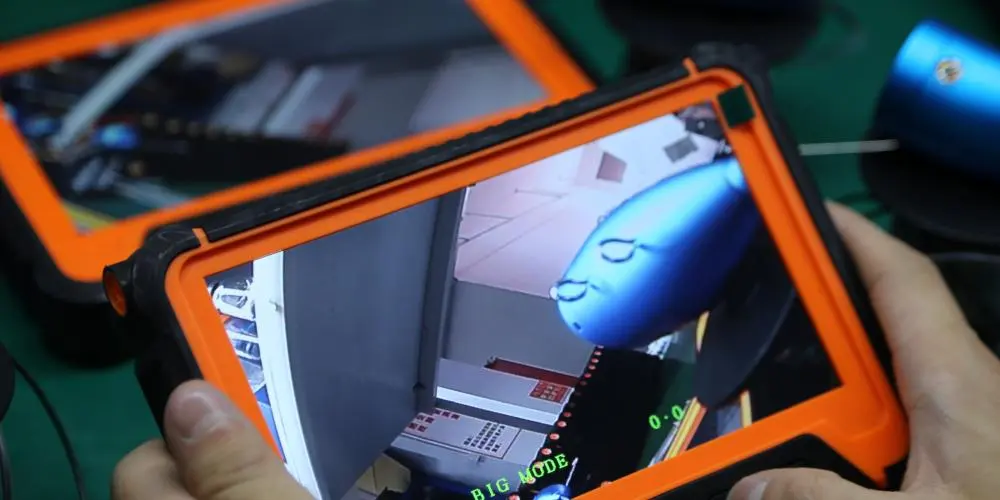
Step 4: Playback and File Transfer Options
Recorded footage can be played back directly on the camera’s display or monitor using the DVR’s playback controls. For file transfer, some systems will allow you to remove the SD or microSD card or connect the unit to a computer via USB. Now, the controls can be different but serve the same purpose of recording, replaying, pausing, resuming, etc.
Key Features of DVR in Underwater Fishing Cameras
If you’re unsure about selecting the right DVR for an underwater fishing camera, this guide can help. There are some features you should always look for.
- Video Resolution and Frame Rate
Video resolution defines the level of detail and overall clarity in the recorded footage, while frame rate determines how smooth the video appears. Frame rate also decides how many pictures you can see when you run the video in slow motion. Higher resolution identifies fish species, bait movement, and underwater structure in a good manner. With a higher frame rate, you get the advantages of slow-motion analysis. Resolution and frame rates together influence the visual performance in murky water or low-light conditions.
- Recording Formats (AVI, MP4, etc.)
DVRs store the videos in standard digital formats like AVI or MP4. These are generally compatible with most mobile and computer devices, along with the editing software. Common recording formats make sharing and playback simple without the need for special software. Video recorded in MP4 or AVI can be shared via messaging apps or cloud storage pretty easily. You also get various compression options if the file size matters to you.
- Loop Recording
It is normal for the DVR to run out of storage space because of the very long videos. So, loop recording overwrites the oldest footage with the latest one. Although this leads to automatic deletion of the old data, your latest video recording continues. This feature ensures uninterrupted recording during long fishing sessions and is great for removing the need for constant manual file management.
- Photo Capture
Along with video recording, many DVR systems also support snapshot or photo capture to allow anglers to save still images of main moments, such as fish sighting or underwater structure.
- Playback and Review controls
Many DVR units only allow you to have the basic record feature. To review the footage, you have to take out the storage device and then check on your computer screen. So, having the built-in playback and review controls is necessary to review the footage on the go.
How to use a Fishing Camera DVR?
The process of using different DVRs will vary depending on their type and models. However, because they work on almost the same principles, we can surely help you use your DVR in the best way possible.
- Setup and Preparation
Since most of the DVRs are battery-operated, make sure to charge them before you deploy them. Cold conditions reduce the battery life faster. So, if that is the case, keep the battery 100%. Insert the supported micro-SD card and make sure it has enough free storage. Set resolution, date/time, and recording mode if the DVR allows.
Before you go, do a dry test where you power on the DVR and confirm the live video. Also, check if the recording and playback functions are working properly.
- Deploying the camera in water
Lower the camera slowly in the water and aim slightly downwards or horizontally. Keep the lure 30 to 60 cm in the frame for natural behavior. For stability, you can use a fin or weight attachment if available. After positioning the camera, wait for a little while for disturbed particles to settle before starting to record. In clear water, you can increase the distance between the camera and the lure. In murky or low-light conditions, you may have to bring the lure closer.
- Recording with DVR
Press the REC button or enable auto-record and confirm the record indicator on scree if visible. Choose the right recording mode and adjust the settings based on the water and the available features. You can also adjust the lighting control and increase the LEDs only if the visibility is poor.
- Best Practices
Watch how fish approach, strike, or hesitate. Adjust lure speed, depth, and color based on the reaction. Pan slowly around the weeds and drop-offs. Also, avoid rapid cable movement.
- Ending the session
Make sure to stop recording manually first to avoid file corruption. Avoid snagging the cable. Once you are done with the sessions, you can review the clips on the DVR screen or external display. For transferring the files, remove the SD card or connect via USB/Wi-Fi as applicable. You can note the timestamps where fish react and compare lure actions as well if you want. Basically, the footage is now yours to observe.
Benefits of DVR for Anglers
DVRs are great to increase not only your yield but also enhance your fishing experience overall. Naturally, as an angler, you want to know what the fish is, how it behaves, and how well it fights. For example, if a fish is visible but ignores the lure, you can change your technique or lure. Also, if there is no fish at all, you can move the spot and do not end up wasting your time. This is possible only with the live view display, but surely, DVR makes things much more helpful for you.
DVRs are the best for post-session analysis. You can easily review what happened after fishing when you have enough time to rethink. Basically, you can learn from your mistakes and improve for the next session.
They let you replay moments to see exactly how fish reacted to your lure and where the strike happened, or the hook missed. DVRs allow you to compare recordings from different days and notice patterns that you might miss without a proper record of your fishing sessions.
Not only for ice fishing or muddy water, fishing camera with a DVR also serves a great purpose in clear water for increasing the fishing outputs. The environment underwater can easily be observed, and this is the biggest challenge that these cameras and DVRs can allow you to overcome.
Notice: While a DVR can be useful for recording and reviewing underwater footage, its absence does not limit the core functionality of a fishing camera. If your primary goal is real-time observation, such as checking bait placement, exploring underwater conditions, or monitoring fish activity, you can still use the camera effectively without DVR support.Conclusion
DVRs are now very common and great for ice fishing, deep-water fishing, fish scouting, and professional uses. They are more than just a recording feature. It is a great learning tool for anyone, whether new to fishing or a professional. Over time, these recordings can help you refine your techniques, recognize patterns, and make better decisions on future trips. However, choosing the right DVR or a fishing camera is important, but that is a topic for another article.